Upgrading your storage to a Solid State Drive (SSD) is one of the most effective ways to enhance your computer’s performance. Whether you’re looking to reduce boot times, speed up application loading, or improve overall system responsiveness, an SSD can make a significant difference. This article provides a detailed, step-by-step walkthrough for installing an SSD, upgrading your storage, and migrating your data, complete with tips to ensure a smooth transition.
Why Upgrade to an SSD?

image : hostingseekers
Before we get into the installation process, let’s explore why SSDs are worth the upgrade:
- Speed: SSDs offer faster read and write speeds compared to traditional Hard Disk Drives (HDDs), resulting in quicker startups, file transfers, and application launches.
- Reliability: With no moving parts, SSDs are more durable and less susceptible to physical damage.
- Efficiency: They consume less power, which can improve battery life in laptops.
This guide is perfect for gamers, professionals, or anyone looking to revitalize their system.
What You’ll Need

To get started, gather the following:
- A compatible SSD (e.g., SATA or NVMe—check your system’s specifications for size and interface).
- A Phillips-head screwdriver.
- An external drive or cloud storage for backups.
- Cloning software (optional, such as Macrium Reflect or Clonezilla, for data migration).
Step-by-Step Guide to Installing an SSD
Step 1: Back Up Your Data

Before touching any hardware, safeguard your files:
- Use an external drive or cloud service (e.g., Google Drive, Dropbox) to back up important data.
- Note: If you plan to clone your existing drive to the SSD, this step is optional but still recommended as a precaution.
Step 2: Power Down and Unplug Your PC

Safety first:
- Shut down your computer completely.
- Disconnect the power cable and all peripherals.
- For desktops, remove the side panel by unscrewing it. For laptops, refer to your device’s manual for disassembly instructions.
Step 3: Locate the Drive Bay
Find where the SSD will go:
- Desktops: Identify the hard drive bay, typically at the front of the case. If replacing an HDD, you may need to remove it first.
- Laptops: Check the bottom panel for the drive bay or a dedicated SSD slot (often an M.2 slot).
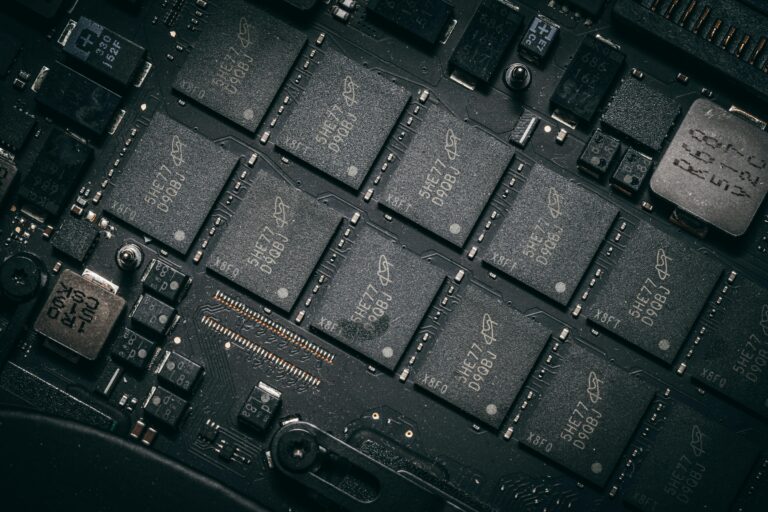
Step 4: Install the SSD
Now, physically install the SSD:
- For SATA SSDs:
- Connect the SSD to an available SATA data cable and power cable from the power supply.
- Mount the SSD in the drive bay and secure it with screws.
- For NVMe SSDs:
- Locate the M.2 slot on your motherboard.
- Insert the SSD at a 30-degree angle, then press it down and secure it with the provided screw.
Visual Aid: Imagine a screenshot showing a SATA SSD connected in a desktop and an NVMe SSD being inserted into an M.2 slot.
Step 5: Reassemble Your PC

Put everything back together:
- Replace the side panel (desktop) or bottom cover (laptop).
- Reattach the power cable and peripherals.
Step 6: Migrate Your Data
Transfer your data to the new SSD using one of these methods:
Option 1: Clone Your Existing Drive
- Use software to copy your old drive to the SSD:
- Install cloning software (e.g., Macrium Reflect).
- Connect both the old drive and new SSD to your PC.
- Open the software and follow its prompts to clone the drive.
- Tip: Verify that the SSD has enough capacity for all your data.
Visual Aid: Picture a screenshot of a cloning software interface mid-process.
Option 2: Perform a Clean Install
- Start fresh with a new operating system installation:
- Create a bootable USB drive with your OS installer (e.g., Windows Media Creation Tool).
- Boot from the USB by entering your BIOS (press F2, F12, or Delete during startup) and selecting the USB.
- Follow the on-screen instructions to install the OS on the SSD.
- Restore your files from the backup and reinstall applications.
Visual Aid: Consider a video link demonstrating a clean Windows installation.
Step 7: Configure Your System
Ensure the SSD is recognized:
- Restart your PC and enter the BIOS/UEFI (press F2, F12, or Delete during boot).
- Set the SSD as the primary boot drive in the boot order.
- Save changes and exit.
Step 8: Verify the Installation
Confirm everything works:
- Boot into your operating system.
- Check that the SSD is detected (e.g., via Task Manager on Windows or System Information on macOS).
- Test performance with tools like CrystalDiskMark to see the speed boost.
Visual Aid: Visualize a screenshot of Task Manager showing the SSD as the active drive.
Data Migration Tips
- Clone vs. Clean Install: Cloning is quicker and keeps your settings, while a clean install removes bloat and starts fresh.
- Partitioning: If your SSD has extra space, partition it (e.g., one for the OS, another for games or files).
- Enable TRIM: Ensure TRIM is active (usually automatic on modern OSes) to maintain SSD performance.
Community Input
Have a trick for SSD installation or data migration? Share your tips or experiences in the comments below! Your insights could help others upgrade their systems more effectively.
Navigation
This guide falls under PC Building and Hardware Upgrades. Explore related sections like Gaming Tips or Software Guides for more ways to optimize your setup.
By following these steps, you’ll have a faster, more efficient system in no time. Whether it’s for gaming, work, or everyday use, an SSD upgrade is a simple yet powerful enhancement. Happy upgrading!